Wednesday, July 29, 2015

Zillions of Zucchini?! ~ Twelve+ Things to Do With Them


If you have a husband who is trying to kill you off by planting 38 zucchini plants, then read on. Yes, this is a true story (maybe not the "killing me off" part since I think he loves me). But 38 plants?! I must have been doing something wrong (no... that can't be possible either *wink*). Either way, here are some ideas on what you can do with all those squash. Some healthy, and some hardly healthy but all very delicious!


Zucchini Patties

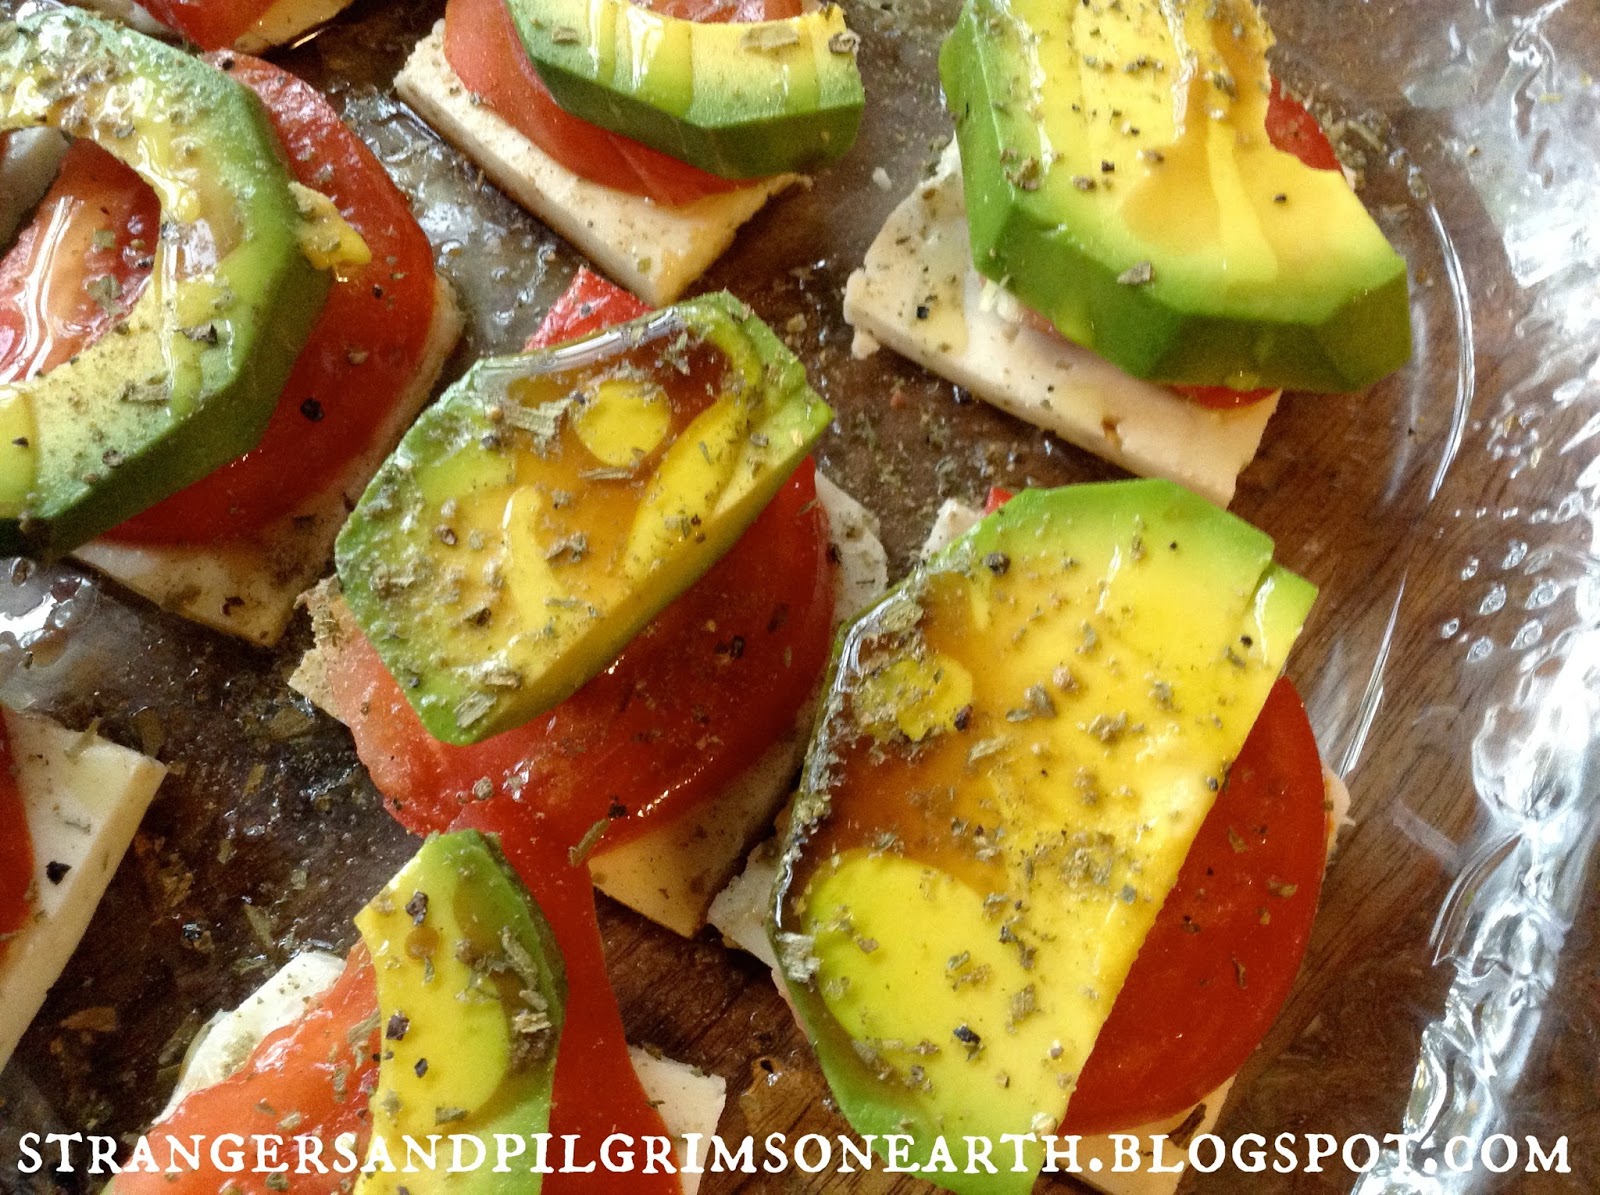
These are easy to prepare and tasty. I serve them with rice and a green salad for dinner. You can find the online recipe here that I used and liked. Also, include some hard boiled eggs into that green salad for extra protein.


Zucchini Pasta Sauce

Saute a few chopped onions and some fresh, pressed garlic together in olive oil until just tender. Then add cubed zucchini and continue to saute until soft. Then, add enough tomato sauce to graciously cover all the vegetables. Let simmer for a half of an hour. Add in some Italian seasoning, salt and some sugar (all to taste but I generally add a TBSP of sugar per quart of tomato sauce) during the last five minutes of cooking. Serve on a bed of pasta and sprinkle with parmesan cheese. 

Note: You can also use tomato puree but you will need to simmer longer to get the sauce to a thicker consistency.


Grilled Zucchini

Cut zucchini into strips and toss with olive oil, salt and pepper (you can also add italian seasoning for variation). Grill until golden strips appear on each side. This is an excellent and healthier side dish to go with some grilled chicken or beef. 

Note: Grill extra and use it as a topping for a summer style pizza the next day. We really enjoyed that as well. Or grill extra for the following recipe.


Grilled Zucchini Pasta Salad

This cold pasta salad is amazing!

Toss together the following:
  • 1 bag of cooked and cooled rotini pasta (you can also use whole grain pasta)
  • 1/3 bottle of Salad Supreme Seasoning (Size 2.62 ounce)
  • 1/4 cup of chopped red onion
  • 1 green bell pepper chopped
  • 1 can of sliced olives (use basic black or green marinated ones for different flavors)
  • 1 basket of cherry tomatoes cut in half or a few garden fresh diced tomatoes
  • 2-3 cups of grilled and cooled zucchini cut into chunks
  • Italian Dressing (according to taste, about a cup or more)
Serve chilled. You can always add more veggies to this than the amount specified. The more raw ingredients the better (and healthier). This makes a tasty side dish to any grilled meat, etc.


Breaded Zucchini

These are sinfully good when served with ranch! Simply slice your zucchini into wedges, dip them in a beaten egg mixture and then dredge in Italian flavored bread crumbs. Fry in oil (medium heat) until golden on each side. 


Stir Fried Zucchini

Saute with olive oil and a pat of butter. Sprinkle in some italian seasoning and sea salt. Add a splash of balsamic vinegar during the last minute for a tasty and quick side dish.


Zucchini Sticks

Just cut them up for dipping. Anything tastes good when submerged in ranch.


Zucchini Quiche

We love quiche!  I like to freeze the fillings so I multiply the recipe by four and then fill my freezer bags with one recipe each. Here is the recipe I use and love. That would call for about 3 1/2 cups of quiche filling per gallon bag. We try and save them for the autumn and winter seasons (I said "try"). I thaw the bags in the refrigerator the night before and then make my simple as can be "freeze four pie crust" recipe (though I decrease the sugar by half since this is a savory dish) for the crust. Then I freeze my other crusts for the days I am going to use my other quiches. Just spoon the filling into the quiche crust and bake on 400 degrees for 50-55 minutes, until puffy and golden on top. Let sit five minutes prior to serving. This is a great brunch dish and a wonderful dinner partner with a winter soup come the season. And obviously, you can make just one quiche but if you have zucchini like I do, that is just not an option...


Chocolate Chip Zucchini Muffins

These are extraordinary! (You have no clue there is zucchini in them!)

Preheat oven to 350 degrees. Line a muffin tin with 12 paper liners and spray with baking spray. 

Combine in bowl the following and set aside:
  • 1 ¾ cup all purpose flour
  • ¾ tsp. baking soda
  • 1/2 tsp. baking powder
  • 1 tsp. ground cinnamon
  • 1/2 tsp. salt
In a separate bowl, mix together the following until smooth:
  • 2 large eggs
  • 1 cup sugar
Then add into the egg and sugar mixture the following and blend well:
  • 1/2 cup oil
  • 1 tsp. vanilla extract
Slowly stir in dry ingredients until just combined. Add in 1 cup of finely shredded zucchini, ¾ cup of chopped walnuts and 1 cup of semi-sweet chocolate chips. Fill cupcake liners to about 1/3 full. Bake until tops are golden and toothpick inserted into the center of muffin comes out clean of batter (approx. 23 minutes). This can be doubled which we highly recommend.

~ Recipe was gleaned from The Essential Chocolate Chip Cookbook by Elinor Klivans


No butter, eggs, milk or mess is required in this depression-era inspired recipe!


Lastly, freeze your zucchini for the future (see our tutorial here) or dehydrate them down to size!


And this is only the beginning of what you could use them for! There is also zucchini bread and casseroles featuring the zucchini (Easy Rustic Flavorful Summer Squash Crustless Quiche - shared above). You may also be interested in some of the zucchini recipes our readers shared: {Zucchini} Mock Apple Crisp by Treasured Up and Pondered and The Zucchinis are In ~ Time to Get Creative by the Butt'ry and Book'ry. Happy harvesting!

"And God said, Behold, I have given you every herb bearing seed,
which is upon the face of all the earth, and every tree,
 in the which is the fruit of a tree yielding seed;
to you it shall be for meat."
~ Genesis 1:29

Wednesday, July 22, 2015

Avocado, Tomato, Herbs & Fresh Cheese ~ Create a Caprese Salad


Tis time to take advantage of the summer sun and prepare meals that don't require ovens. There isn't a "true" recipe for something like this but my desire is to simply inspire you to eat fresh and raw when possible this season. No need to sweat and toil over the stove, you can make flavorful meals in just a few minutes!


One of our favorite dishes is to place a sliced (garden fresh) tomato and avocado upon a bed of our homemade goat cheese. Drizzle with extra-virgin olive oil, balsamic vinegar, Italian herbs and a sprinkling of sea salt. We use the simple "vinegar cheese" method to produce our cheese and the results are delicious for something like this. If you don't have a dairy goat, fresh mozzarella would be divine too! Be creative with what you produce on your property. A strip of basil would be excellent!


You can serve this caprese-like salad as an appetizer, a wonderfully light lunch or with a grilled meat for a dazzling dinner. I hope this has encouraged you to prepare some fresh foods for your family that will nourish and delight the senses this summer! 

Wednesday, July 15, 2015

How to Preserve a Husband

"In choosing a husband, women need to be very careful of their selection.

Do not choose one that is too young or too green, but one that is tender with a healthy growth! Ensure that you pick one that has been raised in a good, moral atmosphere.

Let your decision be final. If you are too picky, they will not keep.

When you have decided on your selection, turn your thoughts to domestic use. Some wives insist on keeping their husbands in a pickle, while others are constantly getting them in hot water. This will only make them sour, hard and often bitter. Add a pinch of common sense as needed.

Even the poorest varieties can be made sweet, tender and good just by garnishing them with patience.

Spice them up with plenty of smiles.

Be sure to flavour them with lots of kisses.

For an ever-lasting product, husbands should be wrapped in a mantle of kindness, kept warm with a fire of steady devotion and always served with peaches and cream.

Like a fine wine, they will improve with age.


Husbands prepared this way can be kept for many years!"

~ Author Unknown

Wednesday, July 8, 2015

How to Can Plum Sauce and Plum Jam {DIY Tutorial}


"Whereupon they got together their collection of buckets and baskets
and tubs and went to the plum thicket."
~ Loula Grace Erdman, The Wind Blows Free

After a visit to a local farm owned by a friend, my husband came home with a bucket of fresh and free plums! I couldn't wait to create a batch of plum sauce though you can choose to make a plum jam with this recipe as well. The difference between the plum sauce and the plum jam is simply longer cooking to get a thicker consistency. We like to pour our sauce over pancakes and basically use it in place of syrups. It is also good as a marinade over a roasted chicken and even lamb. The sky is the limit with your homemade preserves! Would you like to prepare some?


"Papa and I can pick all the plums we'll need."
~ Loula Grace Erdman, The Wind Blows Free

To begin, prepare your canning equipment (step-by-step canning procedures will be found here). To learn how to can, visit here. When all your canning equipment is in order and the boiling water bath canner is fired up, start washing all your plums.


"It was while they were working--
washing, preparing some plum butter,
putting others to dry the way mama had done
with peaches and apples back home..."
~ Loula Grace Erdman, The Wind Blows Free

Next, remove all the pits and coarsely chop your fruit. Measure out three quarts in order to make approximately seven pints of plum jam or plum sauce. And that is correct, no need to peel the plums first which is why I love this recipe!


"Mama was elated... at the thoughts of fruit for canning..."
~ Loula Grace Erdman,  The Wind Blows Free

In a large stainless steel pot, combine your prepared plums, 7 cups of sugar and 1 ¾ cups of water. Carefully stir this mixture until the sugar dissolves and bring to a boil over medium heat. Stir frequently to prevent sticking and burning. Adjust heat to prevent boiling over and continue to cook until your plum mixture reaches desired consistency. A watery product would make more of a sauce while a thicker product produces a jam. 


Once the jam/sauce is to your liking, ladle the hot mixture into sterilized jars, leaving 1/4 inch headspace. Place jars in boiling water bath canner. Once water comes back to a boil, begin timing for 10 minutes. When time is up, carefully remove jars from canner and allow them to cool for 24 hours before handling them. Any jars that did not seal should be placed in the refrigerator to enjoy in the near future.

"Your dinner is in the oven, Anne, and you can get yourself some blue plum preserve out of the pantry."
~ L. M. Montgomery, Anne of Green Gables

To be honest, my favorite part about canning is the last part!... Carefully putting away all the precious jars of jams and sauces onto the pantry shelf and watching our winter provisions grow. It brings a sweet sense of satisfaction. For more preserving posts, please visit here

Wednesday, July 1, 2015

Make Your Own Lavender Water ~ Room, Linen and Ironing Spray


"She has nevertheless desired me to ask you to purchase for her two bottles of Steele's Lavender Water when you are in Town, provided you should go to the shop on your own account."
~ Letter from Jane Austen to her sister Cassandra, January 14, 1801

Tis true, another ode to the Regency and Victorian Era! This lavender water attempts to create a nostalgic and peaceful feeling in a homemaking day. Only one minute of your time can transport you back hundreds of years...


...when you would make linen spray to freshen up sheets and spritz on lacy pillowcases for a good night's sleep. It can also be used as a basic room spray to cleanse the air. My favorite use is as an ironing spray since it adds a romantic element to my least favorite chore. And the women in the Regency era, well, they had quite a different use...

"Marianne, now looking dreadfully white, and unable to stand, sunk into her chair, and Elinor, expecting every moment to see her faint, tried to screen her from the observation of others, while reviving her with lavender water."
~ Jane Austen, Sense and Sensibility


To make a modern supply of lavender water, simply combine the following ingredients in a clean glass jar or bottle (and in the order they appear):
  • 2 tbsp. vodka (you might also get away with using rubbing alcohol or witch-hazel)
  • 4 cups water (distilled is best but I use tap) 
Let the mixture sit for 24 hours before using and give a gentle shake prior to each use. For best results, store lavender water in a glass container as it doesn't leach from the oils like plastic does. Decant into smaller spray bottles as you need them. If using as an ironing spray, be sure to test in an inconspicuous area for delicate fabrics before applying liberally.


"The scent of lavender came out and perfumed the room."
~ Elizabeth Gaskell, North & South


"She was seated in her mother's lap, covered with kisses, her wound bathed with lavender-water, by one of the Miss Steeles, who was on her knees to attend her, and her mouth stuffed with sugar plums by the other. With such a reward for her tears, the child was too wise to cease crying."
~ Jane Austen, Sense and Sensibility

We are sharing our printable recipe and matching spray bottle labels (below). You may like to include this in your herbal for future reference. If you place a pretty ribbon or cork on a recycled bottle and affix a lovely label, it also makes for a beautiful and inexpensive decoration. Think how attractive it would look displayed in your bathroom or on a vanity tray in your bedroom. I think it would make for a nice gift too! Happy homemaking ladies! 

To access our directions and labels, simply visit HERE where you can download and print the PDF file for FREE. You can either print the labels out on plain paper, cut to size and affix to your containers with glue (or decoupage) or print them out on sticker paper and cut to size. I also invite you to subscribe to this blog (located on the sidebar) to get updates and access to future homemaking printables.


For more lavender inspired projects, visit here!
All the fine print. This post may be shared with some or all of the following link-ups: The Art of Home-Making MondaysModest Mom Monday'sMonday's MusingsMake Your Home Sing MondayGood Morning Mondays,  The ScoopTitus 2 TuesdaysTuesdays with a TwistRaising HomemakersWise Woman Link UpHomestead Blog Hop Wow Us Wednesdays,  Coffee and ConversationHomemaking ThursdaysHome Sweet HomeOur Simple HomesteadFrom the Farm Blog HopAwesome Life Friday Link UpFive Star Frou Frou FridayShabbilicious FridaySimply Natural Saturdays and Clever Chicks Blog Hop. Thank you lovely ladies for hosting these. This post may contain affiliate links (which are merchant links that help to support this site at no additional cost to you if you purchase an item through them).